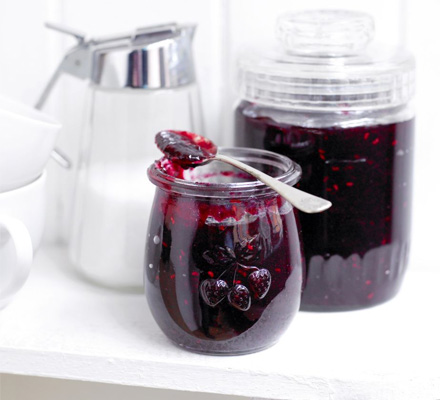

Blackberry jam
By Sarah Cook
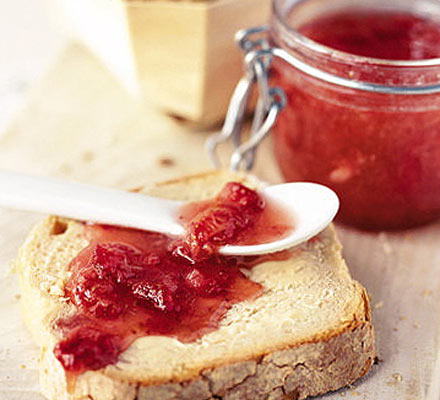
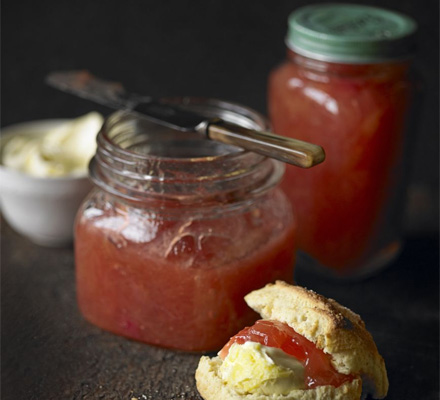
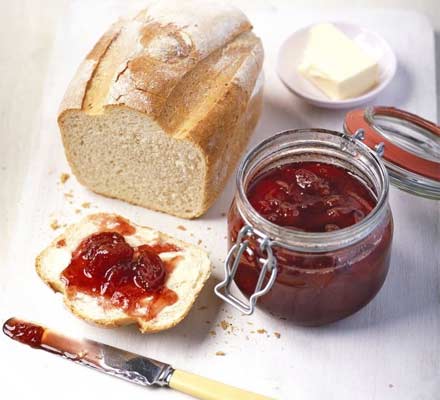
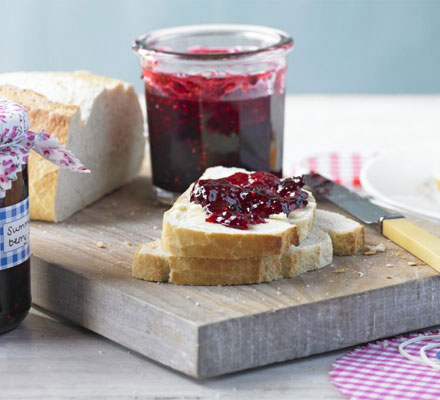
Make this easy blackberry jam with your glut of summer fruit – perfect with fresh white bread. Use jam sugar (with added pectin) to make sure it sets properly
-
Prep:20 mins
Cook:40 mins
Plus overnight soaking - Easy
Nutrition per serving
-
kcal 44
-
fat 0g
-
saturates 0g
-
carbs 12g
-
sugars 12g
-
fibre 0g
-
protein 0g
-
salt 0g
Ingredients
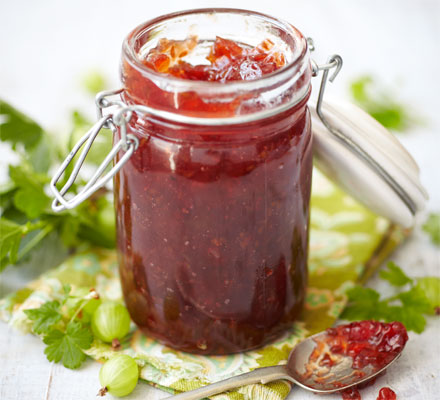
- 1.8kg mixed summer berries (I used hulled strawberries - large ones halved - raspberries, redcurrants, blackcurrants and a few early blackberries)
- 1½ kg jam sugar (the one with added pectin)
- juice and pips 1 lemon
- finger-tip size knob of butter (optional)
Tip
Storing your jamFor this recipe, you’ll need about 8 jam jars, 8 waxed discs and 8 jar lids or cellophane circles with rubber bands. Remember to label each jar once filled, including the date, and cover with squares or circles of pretty fabric if you’re giving them away to friends. You can buy all these from kitchen shops or online from lakeland.com.Sterilising your jars
Wash them in hot, soapy water, then dry in an oven heated to 170C/150C fan/ gas 3 for at least 10 minutes. Always ladle the jam into jars while the jars are still warm.Variations
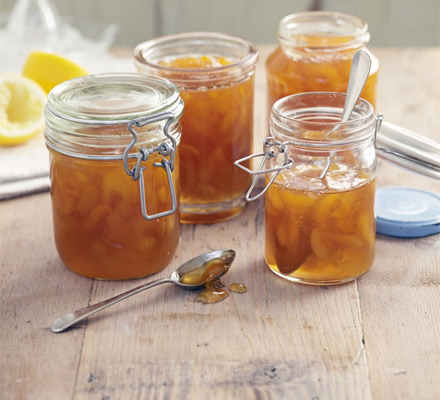
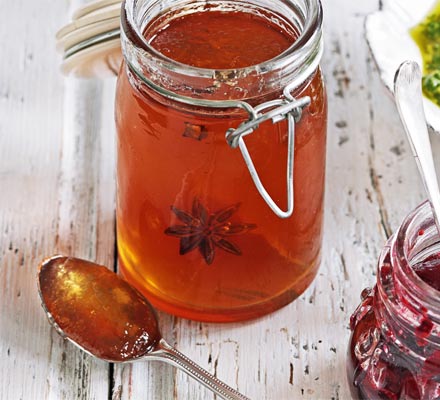
To make Raspberry & rose jam, use 1.8kg raspberries, leaving out the lemon juice and pips and adding 2-3 tbsp rosewater instead. For Zingy blackcurrant jam, use 1.8kg blackcurrants and add a splash of cassis. For Strawberry & vanilla jam, scrape the seeds from 2 vanilla pods into 1.8kg strawberries as you layer with the sugar, then poke the scraped pods in too, fishing them out before ladling the jam into jars.Our downloadable labels
Download our printable preserves labels – perfect for writing cook’s notes and gift messages. You can find them here.
Method
The night before you make your jam, layer the berries and sugar together in a very large bowl, then cover and set aside at room temperature. This helps the sugar to start dissolving so you don’t run the risk of over-cooking the fruit when you actually begin to make the jam. The next morning, give everything a quick stir, then set aside again until you are ready to start cooking.
Before you start, put a small saucer in the freezer. Tip the berries, scraping out all juices and any undissolved sugar, into a preserving pan, or a large, wide-based pan (the wider and more open the pan, the faster the jam will be ready so a preserving pan is really ideal). Stir in the lemon juice, then collect all the pips and secure them inside a tea-leaf strainer or piece of muslin before adding to the pan, too (cooking the pips along with the fruit extracts the pectin they contain, helping your jam to set).
Start the berries over a low heat until all the sugar is completely dissolved, then bring to the boil and simmer for 5 mins. Turn off the heat and spoon a little hot syrupy jam onto the chilled saucer. Once cool, push the jam with your finger. If it wrinkles a little, it’s ready and has reached setting point. If it is too runny to wrinkle, return the pan to the heat and boil in 2-3 minute stages, removing the pan from the heat each time you do the saucer check, until the jam wrinkles.
Skim off any excess scum, then stir in the knob of butter, if you want – this will help to dissolve any remaining scum. Leave the jam for 15 mins before ladling into sterilised jars (see tip, below) – this allows the fruit to settle so it doesn’t sink to the bottom. The jam will keep in a cool, dark place for at least 6 months. Refrigerate jars once opened.